Whether you're traveling abroad or just across the town, there is adventure wherever you look! Check out this blog for travel destinations, ideas and experiences abroad as well as hidden food spots and activities in your very own city!
HOW to decide whether to rent a car, use public transportation or use Uber/Lyft (within the U.S).
There are many factors that influence this decision for me while I plan a trip. Time, expense, convenience and safety are the few main things that I look at before making the final call. Because each person’s needs are different, it’s hard to say renting a car is the only way to go, or public transport is the best for this specific city. Instead, I have gathered some thoughts and questions that I go through while deciding what the best option is for a trip. You can ask yourself these questions if you find yourself stuck and unable to decide.
How long are you visiting and are you traveling from one city to another If you are visiting a city/town for a longer period OR if you are traveling from one city to another, renting a car would save you time and money in the long run.
The number of people you’re traveling with This one is big. The more people you are traveling with, the more you will save renting a carinstead of using public transport. Because each time you travel, you are paying for a higher number of people. Ex; if you are getting tickets for bus/train, you will have to get a ticket per person. But if you are just 1-2 people traveling, tickets for public transportation might cost less than Uber/taxi. For Uber, with more than 4 people, you will have to choose the car for 4-6 people, which bumps up the price for each ride.
Who you are traveling with This one is also a big factor. For our next trip, my parents will be traveling with us. We will be using more private cars and taxis instead of public transportation. This is taking into account the convenience aspect of traveling instead of cost.
How big the city is & distance between the places you are visiting If the distance between the places you are visiting is not significant, you can get away with walking, using public transportation or Uber. If you have a longer commute between the places you decide to visit, you’re probably better off renting that car. Example, we are renting a car from one city and driving to another city…this cuts down our travel time from 6 hours using public transportation to just 2 hours with a car.
Is public transportation available and accessible? Some smaller cities may not have much public transportation. There may not be many Uber drivers around either (which possibly increases the price and wait time).
How costly/safe is public transportation? If you are in a major city (ex; up in Northwest) public transportation and Uber prices can be a higher than average. At the same time, gas prices may also be higher. Check out the prices for transportation and compare with the cost of renting. (Don’t forget to include gas money) If cost is not an issue, think about another main factor, like safety.
Gas prices? Check out the gas prices before you rent a car
How expensive is a car for the duration you are there? Sometimes it’s cheaper to rent a car for a few days instead of one day. Check out the prices online. Pay with a credit card that offers rental insurance so those additional charges won’t sneak up on you.
Is parking available? How costly is parking in the area you are in? If you are leaning towards renting a car, research the average parking prices close to your tour sites. Are the rest of the sites walk-able if you get a day parking in the city?
If you have any other factors or tips for deciding whether to rent, Uber or use public transportation, comment below!
This post may contain affiliate links. Please see our disclosure policy.
When someone tells me about traveling abroad, one of the things I ask them is if they have applied for the STEP Program. As a citizen of the United States, the US is responsible for your safety while you are in another country. The Smart Traveler Enrollment Program (STEP) program allows the US embassy to keep track of when you arrive and depart from the country. It only takes a few minutes to fill out (have your passports ready). And the best part? It’s FREE!
Tip: There is a US embassy in almost every country, with the exception of a few. (The few you should probably hold off on traveling to.) Before each trip, I jot down the phone number, physical address and email address of the US embassy in that country.
Why sign up?
Undercover Travel Pouch
In this time and age, you don’t know what to expect regardless of where you are! The main reason to sign up is for your safety and security. For events like getting your passport stolen or lost, or expired, you can contact the embassy and they will be able to assist you. In the case of any emergencies such as natural disasters, civil chaos or unrest, you will get notifications on what to do and updates on what is going on. In certain situations, the US embassy might also assist with getting you safely out of the country (let’s hope no one needs that assistance while on vacation). But you never know! So, better safe than sorry.
Travel notepad
I sign up with this program every time I travel and I make sure each person traveling with me also signs up. The process is quick and easy; you’ll need your passport and the information of an emergency contact. I even do this while I travel to Kerala, even though I speak the language and have relatives living there. It makes me feel a little better knowing that I have the US embassy to rely on in case something goes wrong.
Tip: You can also follow TravelGov on Twitter and Facebook for updates.
BEST SELLER Anti-theft, light weight shoulder bag
Side Note: I checked the Travel Advisory for Spain and Morocco, both which happens to be a level 2, which is Exercise Increased Caution. Keep this kind of information in your mind, however don’t let it stop you from enjoying your trip, wherever you are traveling!
Obtaining an International Driving Permit is fairly easy. However, you must know that this permit is not valid on it’s own. You need to have a valid driving license in your own country and use this as a supplement, to drive in another country. If you’re making a trip out of country and will be driving there, here are the steps to obtaining an IDP within America!
In order to get your IDP, you will need the following items:
Two passport size photos
$20 dollars in cash, check, money order or credit card
Front and back copy of your original drivers license
Once you have gathered all the required items, the easiest way to get the license is to go to an AAA office near you. (AAA= American Automobile Association). Click here to find an AAA office near you.
You will need to fill out the IDP form and submit everything together. The wait is no longer than a few minutes and you get issued an International Drivers Permit!
Another way to get the IDP is to mail out a filled out form to the AAA address along with all the other required items. It will take 10-15 days to get your IDP in the mail.
Things to know:
The permit is only valid for 1 year. It expires after that.
They don’t give you instructions or any information on HOW to drive in other countries…which means you need to look up rules and regulations of driving in that country.
This does not apply to ALL countries in the world. Check the list of countries that the IDP can be used. A few countries require you to obtain a license from their own country in order to drive there.
You must obtain the IDP in the country where your license is issued. Example: If you live in the US and plan on driving while in Spain, you must obtain your IDP from the US, not Spain.
Here are some things to keep in mind when you book your rental car.
Some countries drive on the left side and have left sided cars. Do your research.
Some cars listed are manual drive; make sure you look into detail about the car and don’t assume all of them are automatic.
Smaller cars may be cheaper, but bigger cars may be more safe.
Use a credit card that already offers insurance/coverage on rented cars so that you don’t have to get additional coverage.
After reading Paulo Coelho’s book, The Alchemist, I’ve always felt the desire to travel to Spain and Morocco. Recently, we found a great deal online and booked our trip to Madrid right away. Everyone usually asks me how we plan these trips without any tour packages. We don’t use big companies or buy packages that offer hotels, round trips and tours for one big price. We want to be able to control more of the trip and be free to do what we want rather than follow a big group. Another reason is because these companies usually take you to touristy places. We prefer to go to places more authentic and take the roads less traveled. In this post, I’m gonna go over the steps to plan a detailed itinerary by planning for our trip to Spain and Morocco.
TIP: Book from mid week to mid week. Tickets are cheaper during midweek and getting to and back from your destination will be a bit less hectic than flying on a weekend. I do this because it allows me to work up until I leave and work the day after I get back from vacation.
The first thing you need to do is look at the map and see where you want to spend your time. (Check out my geography blog post if you’re not great with maps!) If you have a short trip, you might want to stick to one major city. The other option is to venture out and explore a neighboring country or other major cities. We are flying into Madrid for this trip and we have 6-7 days to plan for in our itinerary.
Here are our options:
Spent all our time in Madrid only
Divide our time between Madrid and Barcelona
Explore Madrid and go to Portugal
Explore Madrid and go to Morocco You all know which one we choose. #4! Madrid and Morocco! The other three are also great options, but since Morocco was high on our list, we choose this option.
The next thing to do is to divide your itinerary based on how long you want to stay in one city. You do this based on how much activities or attractions there are to see. This part takes some serious research! We wanted to spend as much time as possible in Morocco. Therefore, we decided to travel south towards Seville as soon as we land in Madrid. We have two days in Seville (on our way to and from Morocco), three days in Morocco and one day in Madrid. Next, you must check the distance between the cities for traveling via train, bus, car or flight (or even boat!). If it takes you three hours to get from one city to the next, you’ll need to take that into consideration when making your itinerary.
So, when should you make that long trip between two cities?
It’s important to strategically plan your travel time between two cities to avoid loosing precious time exploring! I would recommend you travel between 11AM and 3PM, which is the common check out time and check in time. This way, you can travel to the next city and check in right away. If you’re the type of person who makes the most of your trip, you can also fit in an early morning activity that day!
Our flight lands in the morning and typically, we won’t get to check into a hotel until the afternoon. So, instead of spending time carrying around our luggage and attempting to site see, we are going to use that time to travel more south, towards Morocco.
With me so far?
Good! Once you’ve figured out which days you are spending in which city, the next step is to book your hotel stays or Airbnb homes! I pick this based on reviews and ratings on google and any other travel sites. For Airbnb, I try to pick super-hosts and interact with them at least once before booking their place. If you don’t speak the language of the country, it’s important to find a host that speaks English! I just booked our stays in Spain and Morocco (2 months before the trip) and I was late! I should have booked 3-4 months prior to the trip, because a lot of the places were already booked out!
What’s next?
The next major step is to book the transportation between the two cities. You already know which cities you are visiting and have an idea of the distance between these places. So now it’s time to choose how you want to travel! No matter which method of transportation you choose, try to stick closest to the time frame mentioned above.
TIP: For most of Europe, using trains to get around will be the most ideal. In most parts of Asia, it is more efficient to fly from one place to another. You want to look at the time it takes and the cost and choose what is better for you.
Here are our options:
1. Train: Madrid>Seville>Tarifa Takes less time, More convenient, bathroom access, more space, can take unlimited luggage. But costs a lot more $$. 2. Bus:Madrid>Seville>TarifaTakes double the time vs train, no bathroom access, less leg room yet much cheaper. 3. Flight: From Madrid > Morocco: 4x the price. Less time for travel, however will miss the view and scenery. 4. Car: From Madrid > Seville >Tarifa: Double the time compared to train (same route as bus). Need to rent a car, get insurance, get international driving license. Have the freedom of stopping whenever, more flexible. Much cheaper but less safe. What did we choose? Because my parents are coming on this trip with us and because we are doing this train trip right after our 9 hour flight, we choose to take the train.
How to book?
Each country as a different train system. Fortunately, booking train in Europe is very simple in that there are several websites to book through. In Italy, we choose to book with Italiarail. For this trip in Spain, we choose Renfe. For the first train ride, give yourself plenty of time to learn how the system works, where the stations are and how to board it. The rides from there on will be much easier and you don’t have to get there as early once you know how things work.
Now that we have our cities, hotel/airbnb stays and transportation planned out, that concludes the first step of planning the itinerary! Stay tuned as I plan out the fine details of our Spain-Morocco trip with How To Make An Itinerary Part 2! Until then, if you have any questions, post below!
This post may contain affiliate links. Please see our disclosure policy.
One of my favorite activities to do while traveling is shopping! I don’t mean shopping at malls or high end shopping strips. I love shopping at local markets and evening bazaars. As soon as you turn the corner, these shop owners know you are not a local and talk you into stepping into their shop. Once you’re in, they raise the prices depending on where you are from or how you’re dressed. And then, my favorite part…the bargaining! If you’re new to shopping and bargaining, here are several tips that might help you to become a successful bazaar shopper!
1 When you see something that catches your eye, don’t show excitement or enthusiasm about that particular item. Just look around and maybe even skip the item you want and come back to it. Going directly to and touching the item you like the most at the shop is a No-No! Once they know that you like something very much, they won’t budge on the price.
2 When you start to bargain, ask first for the price of something else that you don’t plan on getting. Ask about an item that is similar size to what you actually have you’re eye on. After they tell you the price, you can respond that it’s way too high and keep looking. Next, ask for item you really wanted in the first place. Not only will you get an idea of the price ranges, you’ll also see that the price of the second item will usually be less than the first. Now, think of a reasonable price that your willing to pay for that item and start bargaining!
3 Take out the cash you are willing to pay for the item…the amount you are bargaining for. Once they see the money up front, they are more likely to give into the last pitch of the bargain a little sooner. Also, paying with cash is the way to go with small markets and vendors. Even though now a days, some shop owners may take credit cards, they are likely to bump up the price because of the fees attached to it.
4 If you’re traveling in groups, ask for a group discount for buying several items together. For example, if three people in the group wants to purchase a bag each or several t-shirts or souvenirs, ask for a reduced price per piece rather than buying separately. Vendors are more likely to give you a discount price if you buy more than one piece at their shop. Once you have a total of all the products your group plans on buying, try to round down once again:)
Continue Reading Bargaining Tips and Hacks….
5 If there are other customers in the shop besides you, hold off on bargaining until they leave. Shop owners do not want other naïve tourist customers to know that they can also bargain! Keep looking around at different items and listen to the prices being offered to the other tourists. Once they have left the shop, then you can start bargaining for what you have your eye on. Some vendors might even get a little agitated or upset when you bargain in front of other tourists.
6 If you do not plan on buying an item, don’t stay too long or bargain too much. It’s okay to skim through and get an understanding of the prices. Once you spend a lot of time inside the shop and bargain for for several items, it becomes rude to leave without buying anything. If you can’t find something you like, move on. The more time you spend there, the more likely you are to buy something, even if you don’t like it 100 percent. There will be plenty more shops and even better deals along the way.
7 Do not purchase any souvenirs close to any big monuments or tourist attractions. You may think you can’t get the souvenir of the attraction elsewhere and be highly tempted to buy it right away. However, keep in mind that anything sold near tourist areas are likely to be extremely over priced. I bought a Taj Mahal statue from the vendors near the Taj, because they told me it was made there and I wouldn’t be able to get it anywhere else. They even had a man sitting outside, working on making the statue (or at least that’s what they made it look like). Later the next day, I saw the same statue for half the price by a street vendor at another location. Lesson learned.
8 That leads me to the next bargaining tip on the list. Don’t believe everything vendors and shop owners tell you. Majority of the items at these kind of shops are not hand made at home by their grandmothers, like they might tell you. They come in bulk from bigger distributors and you can find the same ones down the block or even in a neighboring city. The vendors might also ask you where you’re from and what you do to get an idea of how to sell to you. They also do this to make conversation and to keep you longer inside the store. (See number 6) They will compliment you and tell you “just for you, I will make it only $$ much….” Don’t give into it.
9 And last but not least, the game changing bargaining tip of all… Don’t be afraid to walk away. If you are bargaining for a fair price and the vendor is not budging, simply walk away. Had the price you stated was fair enough, they will call you back and agree to the your last price. If they don’t call you back….well, now you know. Next time, don’t bargain so low!
Even though I love getting a good bargain, I am careful on who I bargain with. If I see that the owner of the shop is there and working hard, I usually don’t bargain too much. When you bargain, you have to keep in mind that this is probably their mainstream income. A extra few bucks, which may be pocket change for us, can put food on the table for a whole family. Remember that some of these people live from their day to day earnings, especially in less fortunate countries. On the other hand, the employees who go into each others stalls and borrows items from the nearby stall are working together, for someone else. The owner of that stall might possibly even own the whole shopping strip! With these kinds of stalls, I say bargain away! Just be sure to know your limits and respect the employees and owners, regardless of where you are 🙂
Now that you have read all my market bargaining tips and hacks, you’re ready for your next evening bazaar shopping spree! Do you have any tips that are not on my list? Comment below and let me know! My favorite places to bargain is India and in other Asian countries. Check out all my Asia related posts here!
This post may contain affiliate links. Please see our disclosure policy.
There are many new and creative gadgets and items for those who love to travel. Some of these are fun things you can collect, but most are practical items that will make your travel abroad a lot easier and more efficient! All the things below are the must have things I own or use on almost all of my trips regardless if its out of country or to a neighboring state. There are also several great gift ideas for your wanderlust friends and family!
I bought some packing cubes from Target that are very similar to these and I love them. Packing this way has honestly changed my travel in a major way and I love it. During my first several trips, I would pack a check-in luggage, but after discovering this and a few other techniques, I am able to travel anywhere with just my carry on! For our 9 day in Italy next week, I am trying out plastic covers from bed sheets along with the packing cubes I have.
Update: The plastic covers (from bed sheet covers) worked out great!! I was able to pack 6-7 pairs of outfit in one medium sized cube! The best part, it’s free!
2. The Right Backpack
This is a tough one, because everyone’s needs vary.. . I own the G4Free 50L outdoor backpack and though its a hiking backpack, I use it for all my trips. I used it for my 5 days in Dominican Republic, mostly staying in one place.. across the US for road trips and on flights as carry on, and even for a 6 day adventure in Costa Rica, moving from city to city every few days. It fits a whole lot, especially while using packing cubes and it hasn’t given up or me yet. I haven’t even noticed any wear or tear after these 3 years, so I think this one will stay with me for a while. We’ll see how it goes with our 9 day Europe trip soon!
Update: Held up great during the trip, definitely recommend it!
If you are looking for a personal bag in addition to your carry on or check in, my bro-in-law loves this Anti-theft Laptop Daypack and uses it on most of our trips. It’s essentially a laptop bag for college, but he has been using it for 3-4 years and it works great. It is anti-theft, so it can’t be cut or damaged.. it as a USB charging port and it’s water repellent and shockproof!
Need another type of bag?
Another carry on option is this foldable travel duffle bag tote, which has a large capacity of 30L. My friend bought one online and said it was much cuter than she expected. It is also compact and can fit a lot into it without being too bulky. She said it came in a small pouch that’s very tiny when folded and takes up very little space. It can be used to travel when you know you’ll have more things flying back! (That’s everywhere for me!)
This sling backpack is the ideal backpack for traveling, hiking and other outdoor adventure. It’s light weight and can hold up to 10L. It’ll come in handy on day trips where you need to pack water bottles and more. The shoulder strap also has a pocket for your phone, which sits right below you for easy access.
3. Power Adapter + Converters
My husband found a similar adapter set which I have been using for the past year. It contains worldwide plug adapters, so you wont have to worry about buying an adapter each time you fly. This universal travel adapter however cannot be used as a power convertor and does not convert the units. Therefore, you can’t plug high voltage electronics like hair dryers, straighteners, heaters etc. into it. You can however use smaller items, like charging phones, laptops, etc. *Please check the voltage on all items before you charge so your electronic does not blow out.
Another option to this is to buy the power adapter + converter in one piece. Although this is more expensive, its definitely worth the extra bucks if you travel often! This Universal Travel Converter comes with a voltage converter and worldwide plug adapters. This one comes with 2 USB ports and it can charge many things at one time. You can convert from 220V to 110V and can be used for bigger items such as laptops, blow driers and other appliances.
Waterproof phone case is one of the most important things to have with you, especially if you are going to the beach or planning on doing any water activities. I used my phone case all throughout one trip, even during the non water activities! It kept my phone (and credit card) on me without tying up my hands. I was able to use it while snorkeling in Thailand and swimming with the nurse sharks in Belize and it has not gotten any water in the case. Definitely a must have during adventurous activities! **Prior to using it, make sure there is no leak or holes by placing some tissue in the case and submerging it into a bucket of water. If the tissue stays dry, you’re good to go!
5. Cameras
Now, everyone has their take on which kind of camera to bring while on vacation…It really depends on the destination. I used to take my dslr for my first few trips, but soon realized it held me back from enjoying my time to the fullest. I then started to use my phone camera and take less pictures altogether. It has helped me to live more in the moment and worry less about getting the right shot.
With that being said, the dslr I used to take abroad is the Canon T3i which is now discontinued. I still take it with me for all my domestic travels and while going to events right here in Dallas! This Canon T5 is a great model to take with you as its not so bulky and offers both complex and simple features. Even if you’re a newbie to dslr, it’s easy to operate and get good shots.
My photographer friend owns one of these Fujifilm Instax Mini Instant Cameraand I love it! He took a picture of us and printed it right away, in a matter of minutes. This would be an awesome gadget to travel with if you like to socialize with the locals there and give back in some way! People, especially young kids, in less fortunate countries would love if they would be able to get a picture to keep for themselves. It can get a little pricey with the films and all, but the memory attached to it is priceless!
** When bringing a dslr, be sure you have 1. Extra battery packs and 2. Extra SD card. I was at the entrance of Taj Mahal when my dslr battery died!!! Since then, I never went anywhere without the extra battery packs.
Two 32GB pack micro SD
Two replacement battery packs
** For the Fujifilm, you will need the Fujifilm film pack, which comes in packs of 20. Buying in bulk allows you to save a little more; this set also comes with decorative stickers to add to the 2x3in wallet size photo.
6.Water Bottles
Collapsible water bottle are ideal for long trips as they are flexible and easy to carry. You can always fill water in hotels, water fountains, or anywhere you have access to drinking water and hook it onto your backpack. Then fold and tuck away when you don’t need to use it, so it doesn’t take up too much space. Another great option is this fold-able, flexible and slightly cheaperVapur Element water bottle. My husband was gifted this by two of our friends and we use it all the time now!
7. Pillowcase(My main must have item!)
I take a pillowcase on all my travels because no matter how great the hotel or Airbnb, I feel more comfortable putting my head on my own pillowcase. After the trip, I usually put all my used clothing in the pillowcase to bring them back home. I bought this silk pillowcase which Is also very gentle on the hair. Traveling or not, this is the only pillowcase I must have and I won’t go back!!
8. Travel size containers
If you are going on short/backpacking trips with just a carry on, I would highly recommend getting this TSA approved 3oz leak proof travel bottles, which comes in a packet of 4. Not only do you not have to worry about placing wrappers and tape on your travel bottles, but you also don’t have to worry about any leakage or spills. For all my travels prior to this, I used to buy travel sized bottles (which are also more expensive considering the quantity you are getting) and tape them up. Coming back home however was a challenge since I never brought tape with me. My friend used these bottles and it worked like a charm! You can use it for shampoo, conditioner, mouthwash, body soap, sunscreen, lotions and so much more. Instead of buying new bottles, just clean and refill your bottles after each trip!
This is a must have if you are traveling long distances. It will help you during flights, train rides and even during road trips in car. You want to keep your neck straight and head in line to prevent soreness, aching and muscle straining when you reach your destination.
Traveling includes doing a lot of things you don’t usually do in your every day life. And new experiences also equal new challenges, so you should be prepared the best you can, so that you can keep moving. If I am traveling anywhere outside of the US, one must have thing I Always pack is a medication kit. I have a kit just for travel which I look through often and replace if anything expires. Having this kit has helped me in many ways and I have a feeling that as I get older, this kit will only get bigger.. yikes!
Write caption…
A. Pain killer. Definitely a must. I usually have a small bottle of Aleve with me and it has helped me to get through the day with bearable leg pain. After a full day of walking and a touring a new place, it comes in handy when your legs need some relief. I also have Excedrin for headaches/migraines.
B. Claritin Again, a must have when it comes to traveling abroad, as we’re not sure about what kind of allergens we will come in contact with that our body does not like! My whole family uses Claritin and it helps to reduce allergies so we can focus on more important things while traveling!
C. Nausea medicine
If you live in the US, you might only need nausea medication for any plane or boat rides. However in other countries, even a short 5 minute ride from one side of the town to another can be a bumpy one because of the road conditions. Even train rides are bumpy and not always pleasant in some less fortunate countries. Although there are a few OTC nausea meds, its probably best to get some through your doctor.
D. Tummy meds I always have a Pepto-Bismol on me while traveling abroad, even though I have a pretty strong stomach. I have not yet used it, but I think I feel more comfortable knowing I have it with me in case I was to get sick. TUMS is also highly recommended to temporarily help those who have heart burns. Hey, no one wants a grumpy travel mate!
E. Antibiotic cream
I carry a small tube of Neosporin to prevent infection in case of minor cuts or scratches. It can also be used for rashes or skin irritation. This is one of my top must have items in this list.
F. Tooth numbing medication When I was having tooth/gum problems, this is something I had with me all the time. The worst thing to have while traveling and site seeing is a bad toothache. Though this won’t solve your problem completely, it will help relieve your pain until you get back home or get medical help. This Orajel pain relief swabs work great for tooth and gum pain.
G. Band-aids/Alcohol swabs Its always a good idea to carry a few different sizes band-aids and alcohol pads with you, so you don’t have to pay ridiculous prices for it while traveling. I use band-aids to prevent blisters on the back of the heels from all the walking.
H. Earbuds/Cotton balls/Gauze
Although it’s not a must, as someone who has done wound care for a few years, I always have at least one of these three on me. It can be used to apply medication, clean a wound, cover open skin, apply oral medication, etc. If you are debating whether to pack some or not, it really depends on how adventurous the trip will be and how susceptible you are to injury. If you’ll be doing a lot of outdoor activities and you’re the one to always get hurt, I recommend you pack this extra .1 pounds of items in your medication kit.. you won’t regret it! Side note; If you are traveling in groups, not everyone needs to bring their medication kit, some of it can be shared; so split out the items that can be shared and save room while packing!
(***Disclaimer alert: This is NOT medical advice or encouraging medical drug use; please ask your MD prior to using any of these medications. See disclosure below.)
11. Water shoes
During our road trip to Broken Bow Cabins in Oklahoma, my sister and bro in law had a pair of Miashansha Water shoeswhich they loved! It was light weight, easily packable, stylish, quick drying and most of all comfortable during our light hike through the forest and streams. This also makes for a great gift for someone who likes to travel or do a lot of water activities!
12. Repellents
To make the most of any trip, you want to make sure you are well protected against the sun and any mosquitos. I bought theKinven Anti Mosquito Repellent Bundle years ago for less than 15 bucks and I’ve been using the same one over and over for all my trips and it works great! As for sunscreen, my favorite brand is the banana boat and I found these Banana Boat travel packets that are great while on the go! Another brand I started using this part year is the Repel Insect Repellent With 40% deet and I like it. However, I feel it’s much stronger, so I probably would not use too much of it and definitely not on kids.
Until my last trip, this didn’t seem like something I would need or even think of using. During the 9 hour plane ride to Italy, I noticed my shoes got tighter and harder to put on. Once we landed, my legs also ached tremendously, confirming it wasn’t a problem with my shoes, but rather with my legs… they were swelling up! Because there was a lot of walking involved in Italy, my legs and feet were aching almost daily. I now wear these compression foot sleeves when I travel a lot and even when I have a long day of work. It has helped reduce the swelling and pain and is comfortable to wear all day! This is my must have at all times.
It’s hard to say no to buying souvenirs despite how little space you have in your luggage to go back home. Staying under the packing limit is a serious challenge for all travelers, especially when you go back to your hometown (or when you travel somewhere ridiculously cheap)! This digital scale is a great device to have, especially for international flights where you can be charged a fee for overweight luggage.
My husband bought us these fast charging cables for the go since we are on the road a lot. I now use it in my car on a daily basis. It’s made from strong material, which is also very flexible and long at over 6 ft’ (which is good to reach to the backseat). It transfers quickly and charges faster than any of the previous chargers I have owned. Definitely recommend this must have item if you travel on the road a lot and you use your phone often.
Here is a cute way to charge your phone on the go! This is a great option to have while traveling because it keeps all your things together. You can carry your ID card, credit cards, passport, cash and phone all in one place. You can also charge your phone without having to go look for an outlet. There is also a place to neatly store the wires when you’re done. This neat and stylish holder also makes for a great gift for someone who loves to travel!
16. TSA approved items
I love anything TSA approved, because that is one less thing to worry about getting through checking and it makes the process a whole lot quicker. These locks andplastic toiletry pouches are so convenient and easy to use!
My husband bought me one similar to this and I love it! We scratched off the countries we’ve been to, framed it and hung it up. We take it down after a couple of trips and scratch some more off. The USA section is even divided by states, which is great for those who do a lot of road trips and in country trips. A great gift for any age!
(Christin, my travel friend who toured all of Thailand with me, loves this Scratch off Map which has a beautiful black backdrop and flags on the bottom portion.)
18. Games
Travel Question Game
Keeping your kids busy during travel is important, so that you will also enjoy your trip! This is mainly for the long flight abroad, that long layover or travel time between two places, where your children just can’t sit still.
SmartGames that test your IQ!
Connect Four
What I do on flights and layovers? … Keep reading!
19. Books
I read a travel guide book while I am traveling to a new place. This helps me to learn as much as I can about the culture, behaviors and customs before I get there. I also try to learn a few phrases that will help me along the way. Below are some of the books I own and love to read, even when I am done visiting those places!
20. Travel Themed Office Items
Most people who like to travel also have their offices and homes set up with some cute travel items. Here are a few great ideas that’ll add that an instant travel theme and makes a cute gift for that travelmania friend!
Travel themed Pillow set
Travel themed Pillow set
World Map Decor
Travel Notebook Diary
Travel themed notepads
Notebook
Travel Themed Mouse Pad
Kid’s Storage box-travel themed
Paris themed Ottoman Cube
Suitcase decor
21. T-Shirts
You can never have enough T-shirts… and travel themed ones? Bring it on!!!
Not sure who made these shirts, but it’s like having your pinterest travel section in your wardrobe!
22. Travel Must Have Gift Items
There are many cute travel items that make the perfect gift for anyone! From passport holders to coffee mugs, check out this list of my top favorites!
Candles!!
Adventure Fund Box
Travel Themes Aprons
Coasters
Bottle Stopper
Passport Holder & Luggage Tags
Camera Lens Coffee Mug
Adventure Mugs (2)
Jewelry Holder
Laundry bag
Passport Holder
Luggage Tags-Mr. & Mrs.
Wildlife Kitchen Knife Set
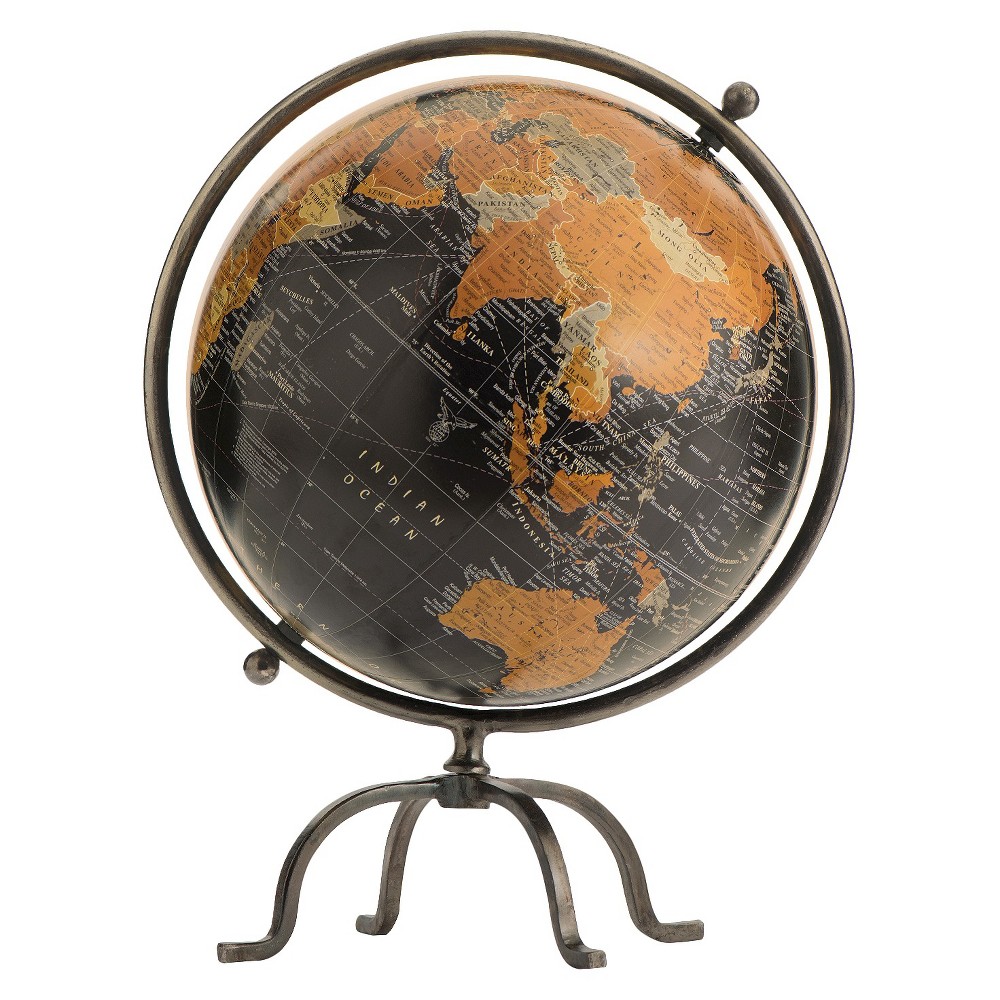
Geographic Peninsula Desktop Globe A smaller 3 lb globe for smaller desktop décor or to compliment bigger globes. Great to place on books!
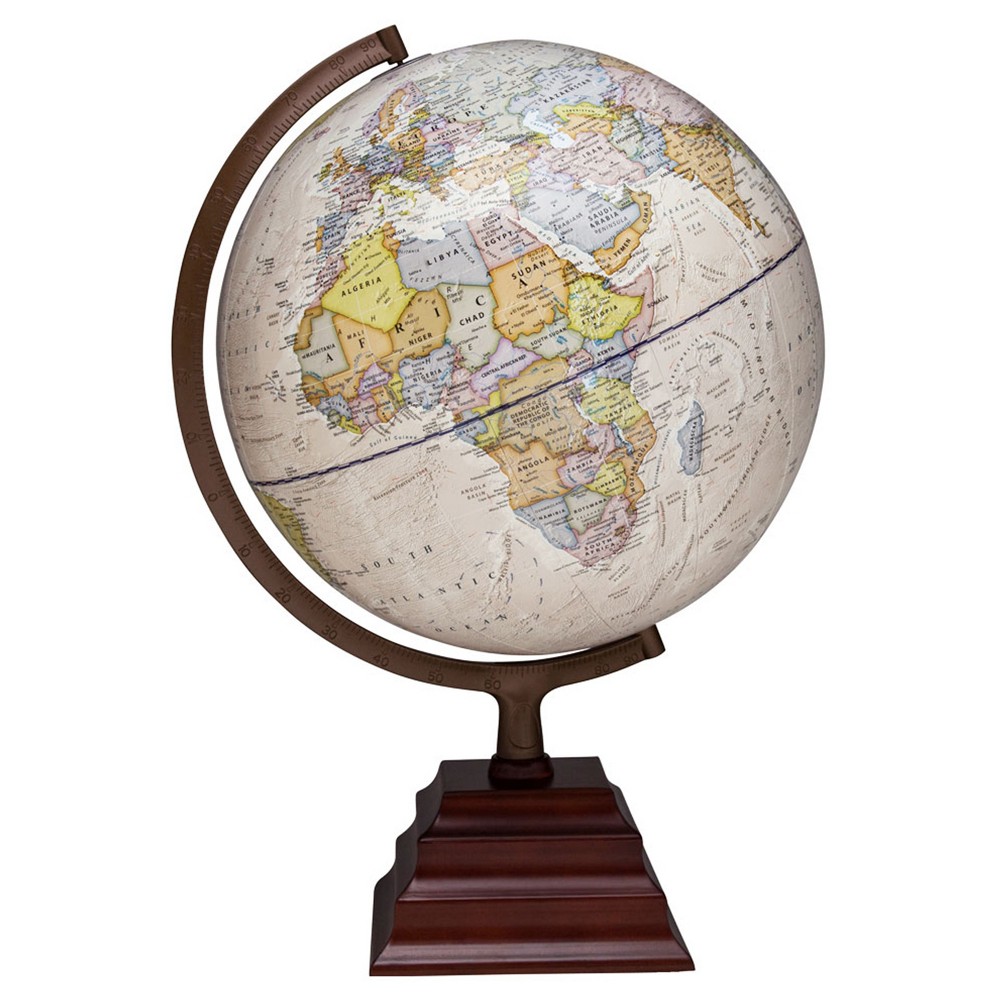
23. Globes Just because, which wanderlust doesn’t just love globes in their home? This is a perfect gift for men or women who love to travel!
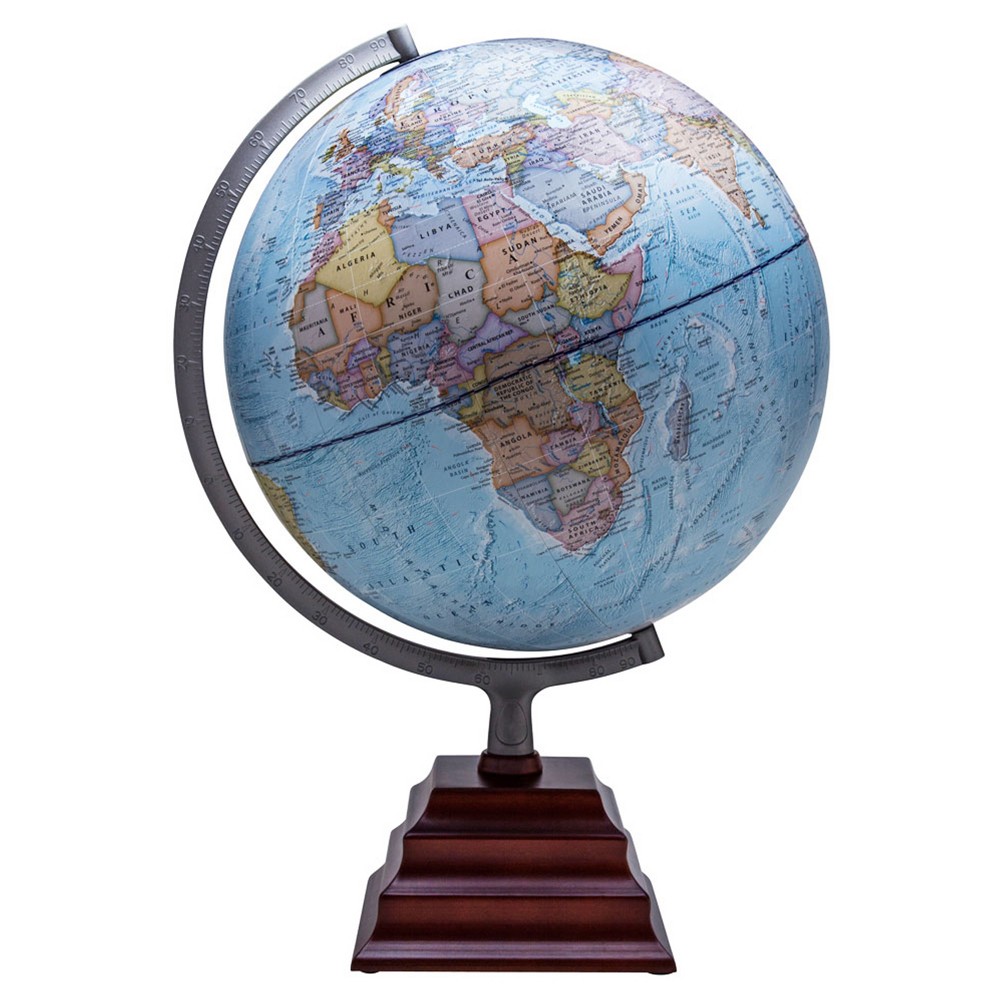
Champlain Globe Now, if you’re really serious about globes, this is the real deal right here!
More travel essentials and gift ideas coming soon! If you never leave home without a travel item, post it in the comments below! Check out myBargaining Tips & Hackspost next!
This post may contain affiliate links. Please see our disclosure policy.